The first LED strip I fitted fell off the wall within a week. The second one I installed properly and it is still there four years later. The strip was not the difference — the surface preparation was.
Nobody tells you that when you buy one, so here is everything I learned the slow way.
Where strips genuinely work
LED strips are indirect lighting. They look good when you see the glow and not the diodes, and bad when you see a row of bright dots.
That single principle decides every placement.
- Behind a television — the classic. Reduces the harsh contrast between a bright screen and a dark wall, which many people find easier on the eyes during evening viewing.
- Under kitchen wall units — lights the worktop where you actually chop, rather than casting your own shadow onto it.
- Along a shelf lip or headboard — soft wash, source hidden.
- Under a bed frame or cabinet kickboard — low-level night guidance without flooding the room.
Where they disappoint: as a room’s main light source, or stuck flat on an open wall where every diode is visible.
Measuring, and why people get it wrong
Strips can be cut shorter at marked points. They cannot be extended. So measure generously and cut down.
The mistake I made was measuring the visible run and forgetting the corners. Every corner needs either a gentle bend or a cut-and-rejoin, and both eat length. Add roughly 10% to whatever you measure.
Also plan where the controller and plug go before you stick anything. A perfectly placed strip that cannot reach a socket is a genuinely annoying mistake to discover at the end.
Fitting it so it stays up
1. Clean the surface properly
Adhesive fails on dust, grease and residue — not on smoothness. Wipe with isopropyl alcohol if you have it, or washing-up liquid and water, and let it dry completely.
2. Test before committing
Plug it in and hold it in place before peeling the backing. Colours look different against different wall shades, and the throw is rarely what you pictured.
3. Work in sections
Peel and press 20 to 30 centimetres at a time. Pulling the whole backing off at once guarantees a twist somewhere.
4. Press firmly, then leave it
Adhesive needs time and pressure. Press along the length, then leave it a few hours before bending or adjusting.
5. Add mounting clips in warm rooms
Heat is the enemy of adhesive. In Gulf summers, small clips or channels every 30cm mean the difference between a strip that stays and one that sags by August.
What not to do
- Do not fit on textured paint or rough wood. The adhesive contacts only the high points. Use clips or a channel instead.
- Do not coil unused strip and leave it powered. Coiled LEDs concentrate heat and shorten life.
- Do not cut anywhere except the marked points. You will sever a circuit and kill everything after the cut.
- Do not assume it is waterproof. Most indoor strips are not. Bathrooms and outdoor use need a rated IP65 or above.
Symptoms and causes
- Half the strip is dim — voltage drop over a long run. Feed power from both ends, or use a shorter section.
- Colours look wrong — strip is upside down or the connector is reversed. RGB connectors are directional.
- Peeling at corners — bend radius too tight. Corners need a clip.
- Flickering — usually an underpowered or failing adapter, not the strip.
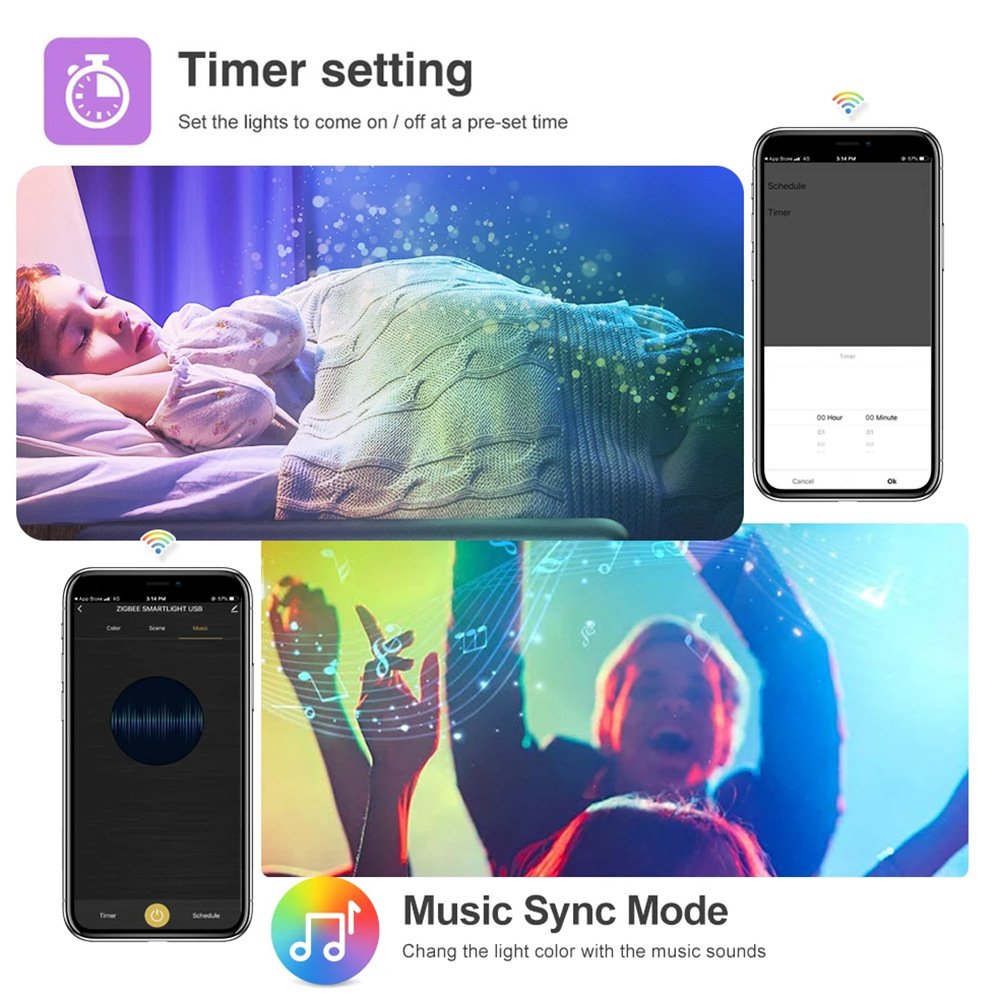
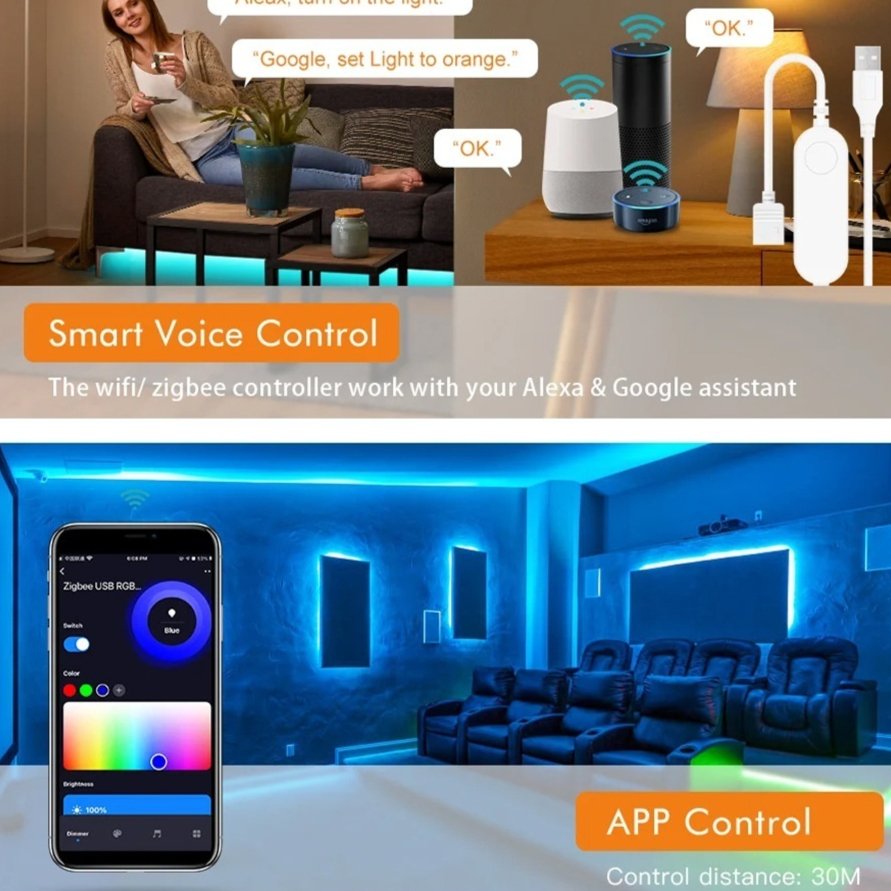
- App will not connect — almost always the 2.4GHz issue. Most smart strips do not support 5GHz networks.
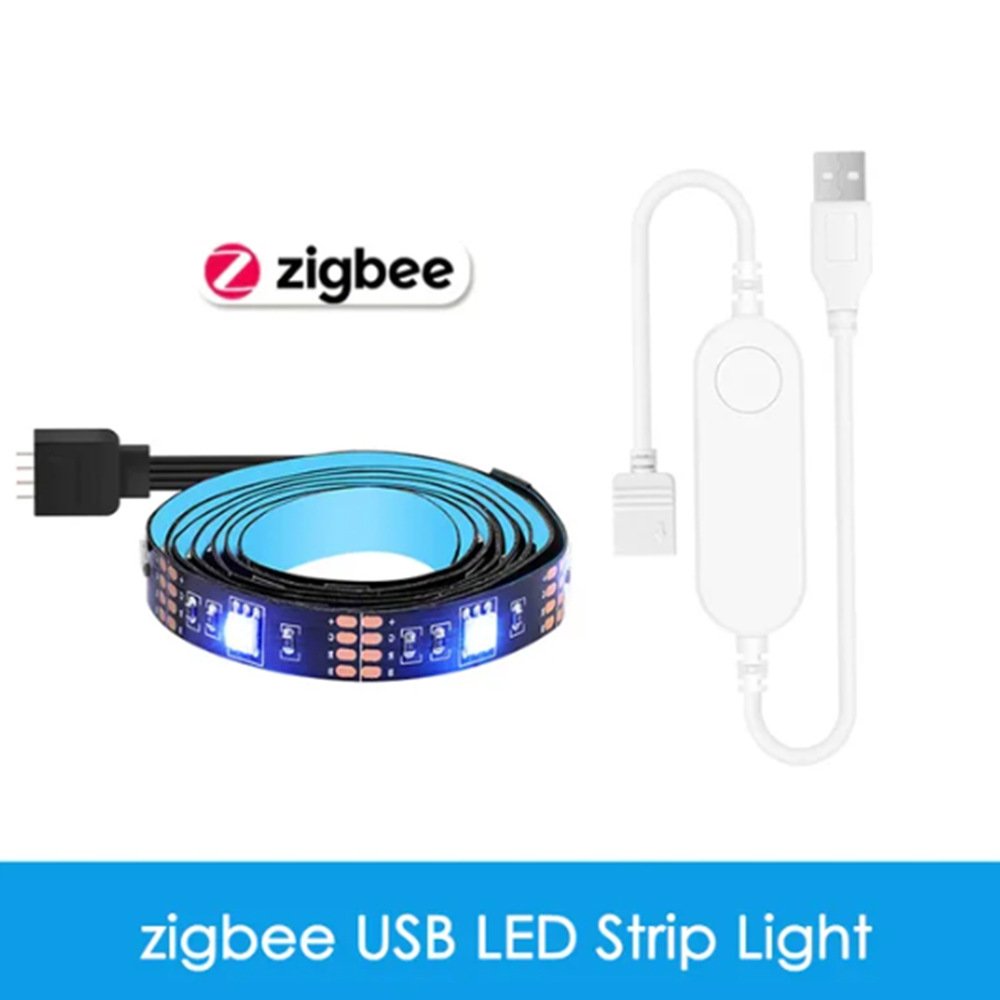
WiFi or Zigbee?
Worth thinking about before buying rather than after.
WiFi needs no hub. Each device connects directly to your router and brings its own app. Simple for one or two devices; cluttered once you own ten.
Zigbee needs a hub, but devices form their own mesh, respond faster, and sit in one app alongside everything else. If you already own a hub, choose Zigbee. If you do not, WiFi is the sensible start.
There is no quality difference in the light itself. It is purely how it is controlled.
Three misconceptions
“More LEDs per metre is always better”
Higher density gives a smoother line without visible dots, which matters when the strip is visible. Hidden behind a TV, it makes little difference and costs more.
“RGB can produce good white light”
Mixing red, green and blue gives an approximation of white that usually looks slightly off. Strips with a dedicated white channel (RGBW) do it properly. If you need usable task lighting rather than colour, that distinction matters.
“They use no electricity”
They use little — a few watts per metre — but “little” is not “none”, and a long run left on permanently adds up. Rated lifespans of 50,000 hours are also lab figures under controlled conditions, not a guarantee in a hot kitchen.
What to expect over time
Fitted properly on a clean surface, expect years of service. The usual first failure is not the LEDs but the adhesive letting go in summer heat, or the controller if it sits somewhere warm.
Individual diodes can dim unevenly over long periods, most noticeably on strips run at full brightness constantly. Running at 70–80% brightness looks nearly identical and is easier on the components.
Submit your story
I would like to hear your installations. Has adhesive survived a Gulf summer for you? Found a channel or clip that works well? A placement that looked better than you expected?
Send it via our contact page.
How this article was created
Written from fitting these in my own home and from manufacturer specifications — LED density, wattage per metre, cut points and IP ratings are all published, measurable figures.
The 50,000-hour figure is a manufacturer rating and I have described it as such rather than presenting it as an independent finding. I have not invented statistics about energy savings or eye strain; the comment about screen contrast reflects common ergonomic advice rather than a specific study. If anything here is wrong, tell me and I will correct it.